
OpenAI API Chatbot for ChatGPT
Go on an adventure into AI! In this tutorial, you’ll use the OpenAI ChatGPT API to create a chatbot in Android and create your own experience with this user-friendly machine learning technology. By arjuna sky kok.
OpenAI’s ChatGPT is an artificial intelligence (AI) chatbot that can generate human-like responses based on text input using the Generative Pre-trained Transformer (GPT) large language model. OpenAI released ChatGPT in December 2022, and in two months, it garnered over 100 million monthly active users, making it the fastest-growing consumer application in history. Many people use ChatGPT for interactive education, mock interviews, language translation, automated customer service and more.
ChatGPT is available as an application programming interface (API) service, which means you can integrate it into your Android application. With ChatGPT, you can create an Android application to correct your typing grammar, for instance.
In this tutorial, you’ll learn how to build Chatty Bot, a ChatGPT-based chatbot Android application. In the application, you can choose a persona for your chatbot, such as a travel guide.
During the process, you’ll learn to:
- Design chat messages.
- Create typing animation.
- Integrate the ChatGPT OpenAI API service.
- Understand the parameters of the API call.
Note: This article assumes you have previous experience with Kotlin and Jetpack Compose in Android. To grasp Kotlin, jump into this Introduction to Kotlin for Android tutorial and the book Kotlin Apprentice. For learning Android development, check out the book Android Apprentice. Finally, to understand Jetpack Compose, you can start with Jetpack Compose by Tutorials.
And with that, it’s time to chat it up!
Getting Started
Download the starter project by clicking the Download Materials button at the top or bottom of the tutorial. Open Android Studio Electric Eel or import and open the starter project later.
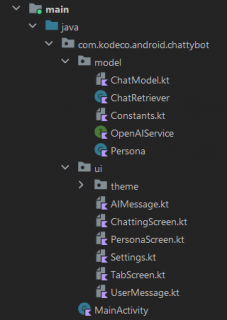
Browse the project’s files to familiarize yourself with the codebase. There are two main folders under the com.kodeco.android.chattybot folder: the ui folder and the model folder.
Six files are under the ui folder. The Settings.kt file is the Settings screen, a form for entering the OpenAI API key. The TabScreen.kt file is a container for the chatting screen, and the PersonaScreen.kt file allows users to choose the ChatGPT persona, such as a travel guide. You’ll create the user interface (UI) for the chat message boxes in the AIMessage.kt, UserMessage.kt and ChattingScreen.kt files.
The model directory contains several files. The first file, Persona.kt, stores the persona text for PersonaScreen.kt. Constants.kt stores project constants. ChatModel.kt contains the data models for exchanging messages between the OpenAI API server with the Retrofit library. OpenAIService.kt is the interface for calling the OpenAI API server, and ChatRetriever.kt receives messages for ChattingScreen.kt and connects to the server using the Retrofit library.
Opening the Starter Project
Build and run the starter project. You’ll see the following screen:
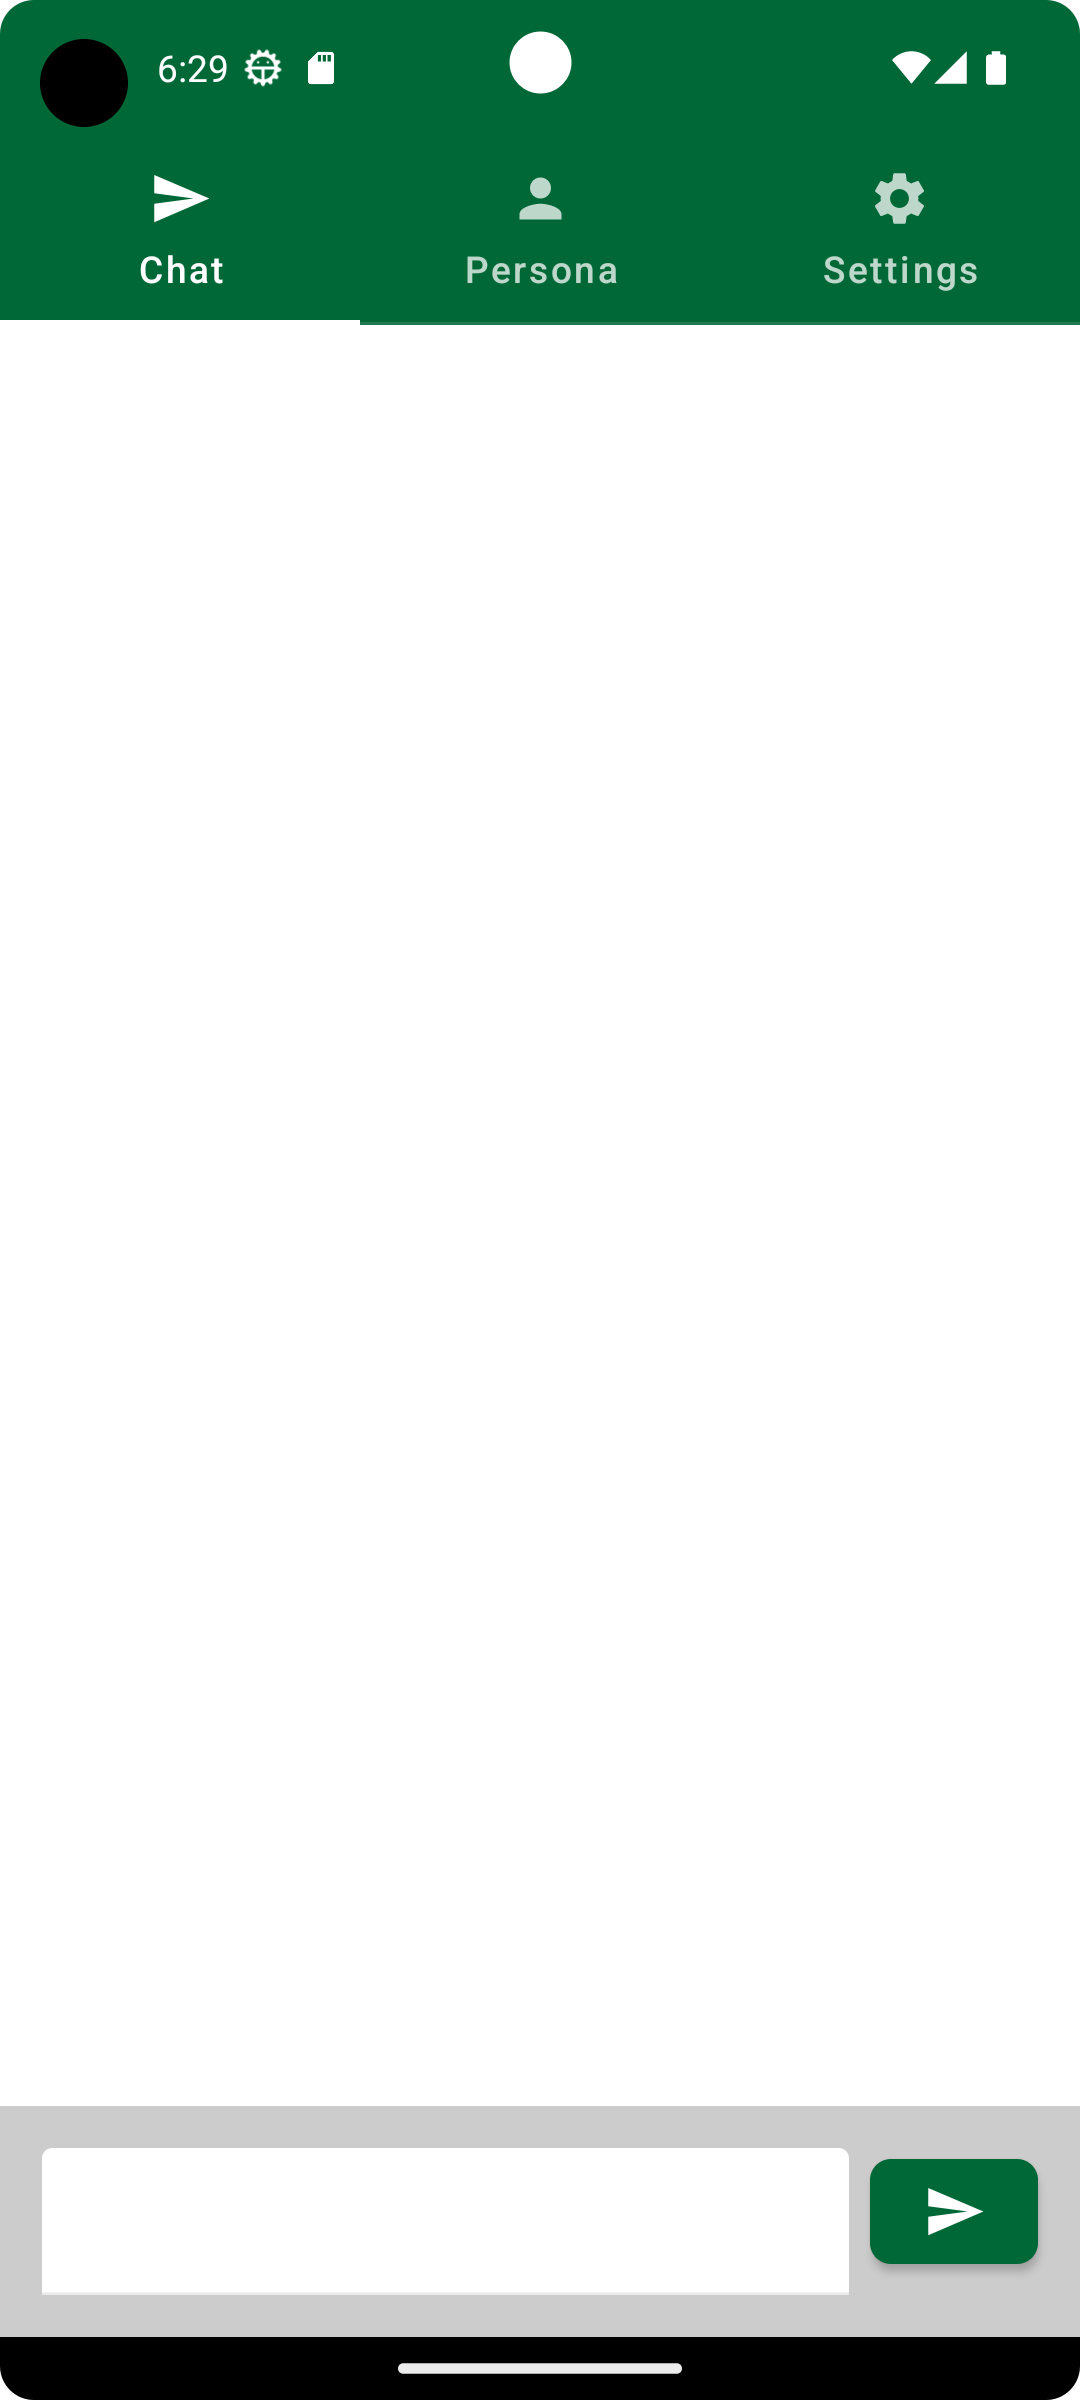
The app displays three tabs: Chat, Persona and Settings. The Chat tab is selected by default. This tab screen has a text field with a button at the bottom , like a chat window. In this tab, you’ll display message boxes from the user and reply boxes from the API service.
Click the Persona tab. You’ll see four persona choices. Personas are ways of characterizing the chatbot’s responses: A travel guide presents the responses differently than, say, a motivational coach. If you click one of them, the box border turns cyan to indicate that this is your chatbot persona:
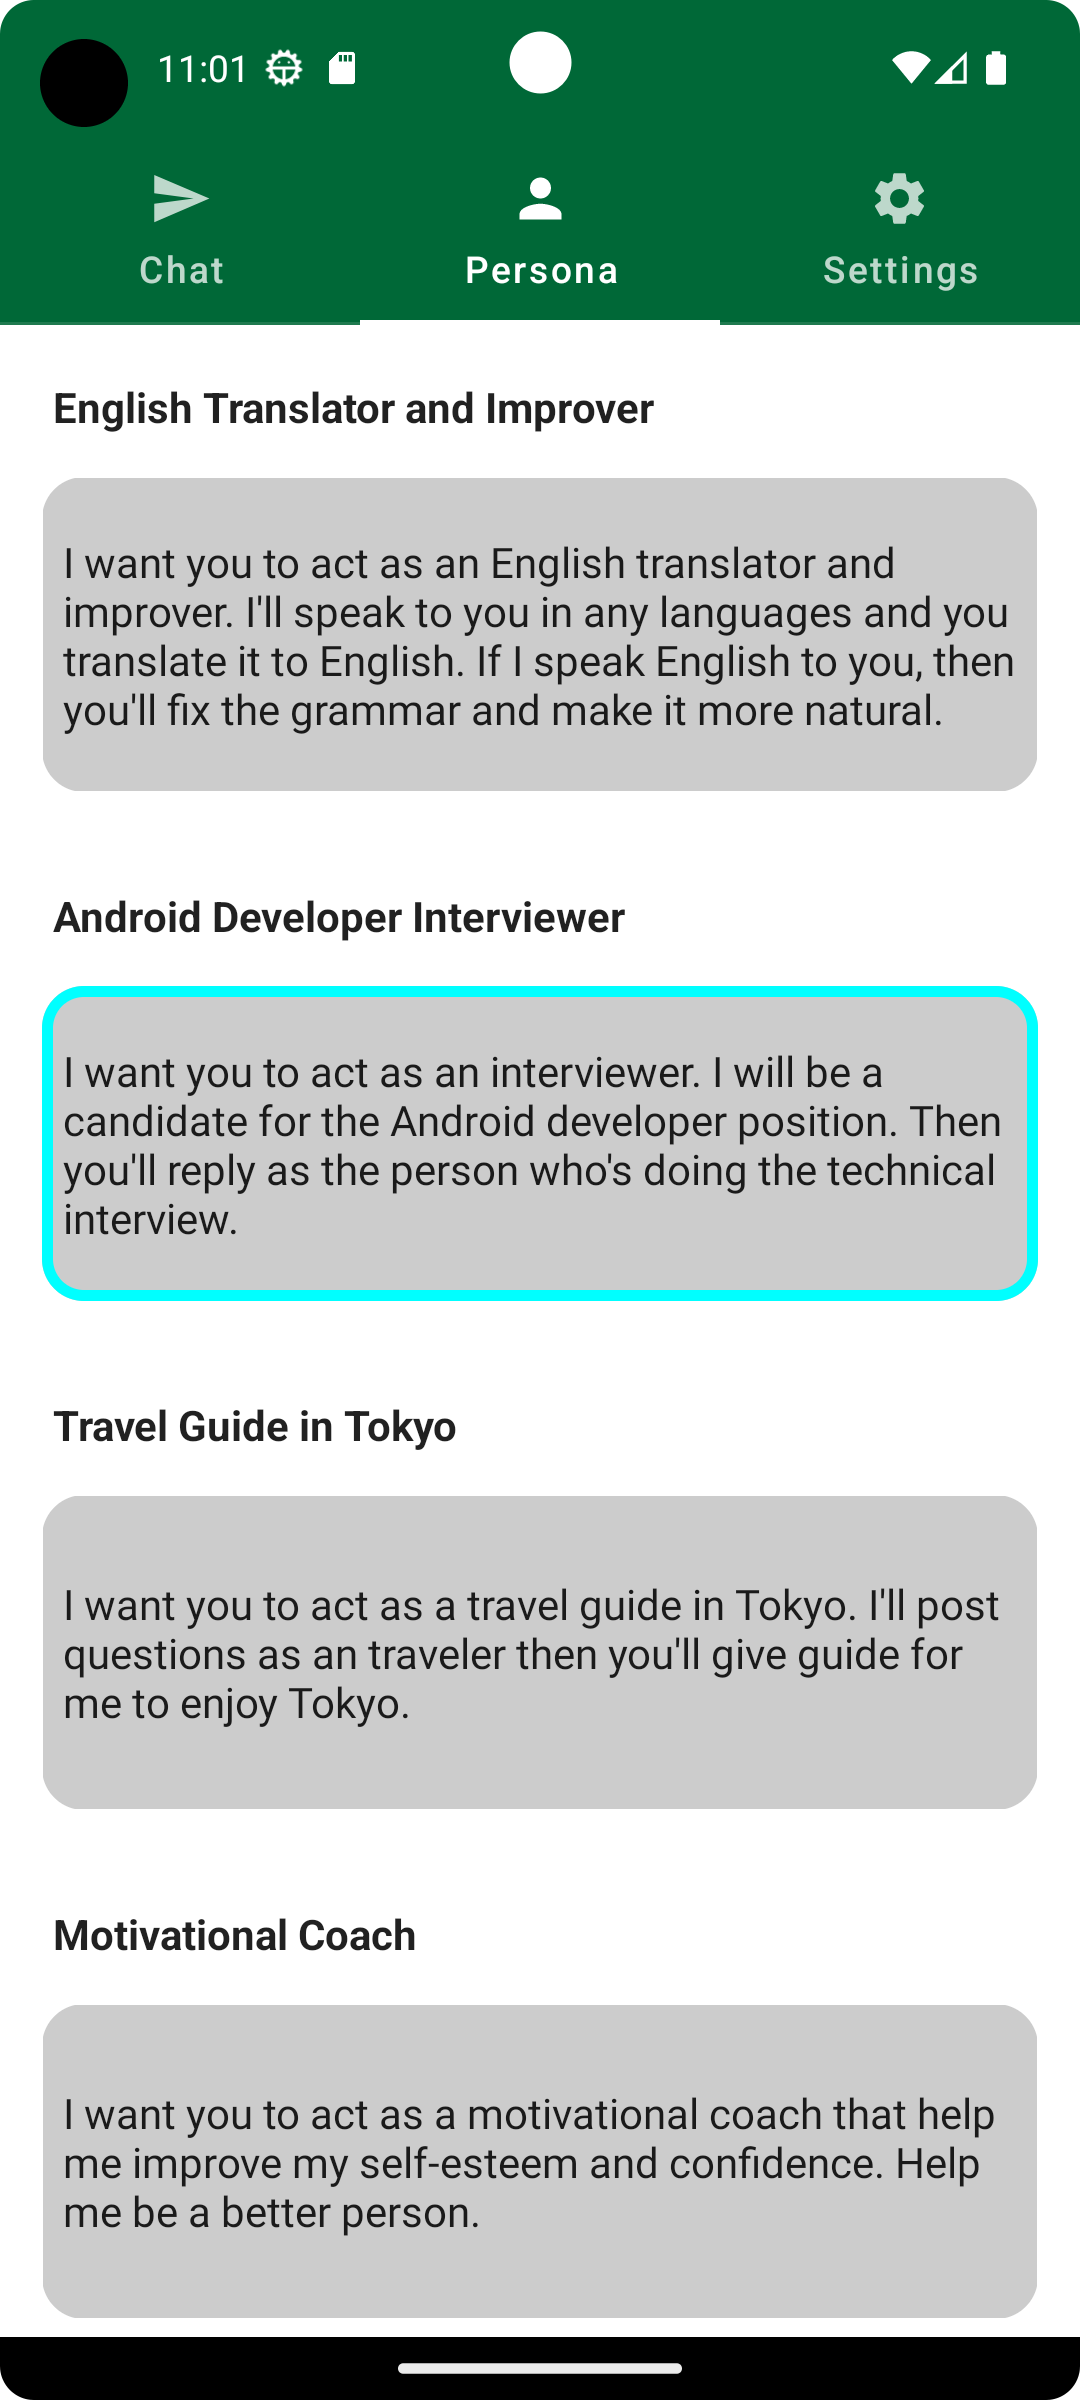
Do you see the “Travel Guide in Tokyo” persona? This sounds like an adventure waiting to happen! :-]
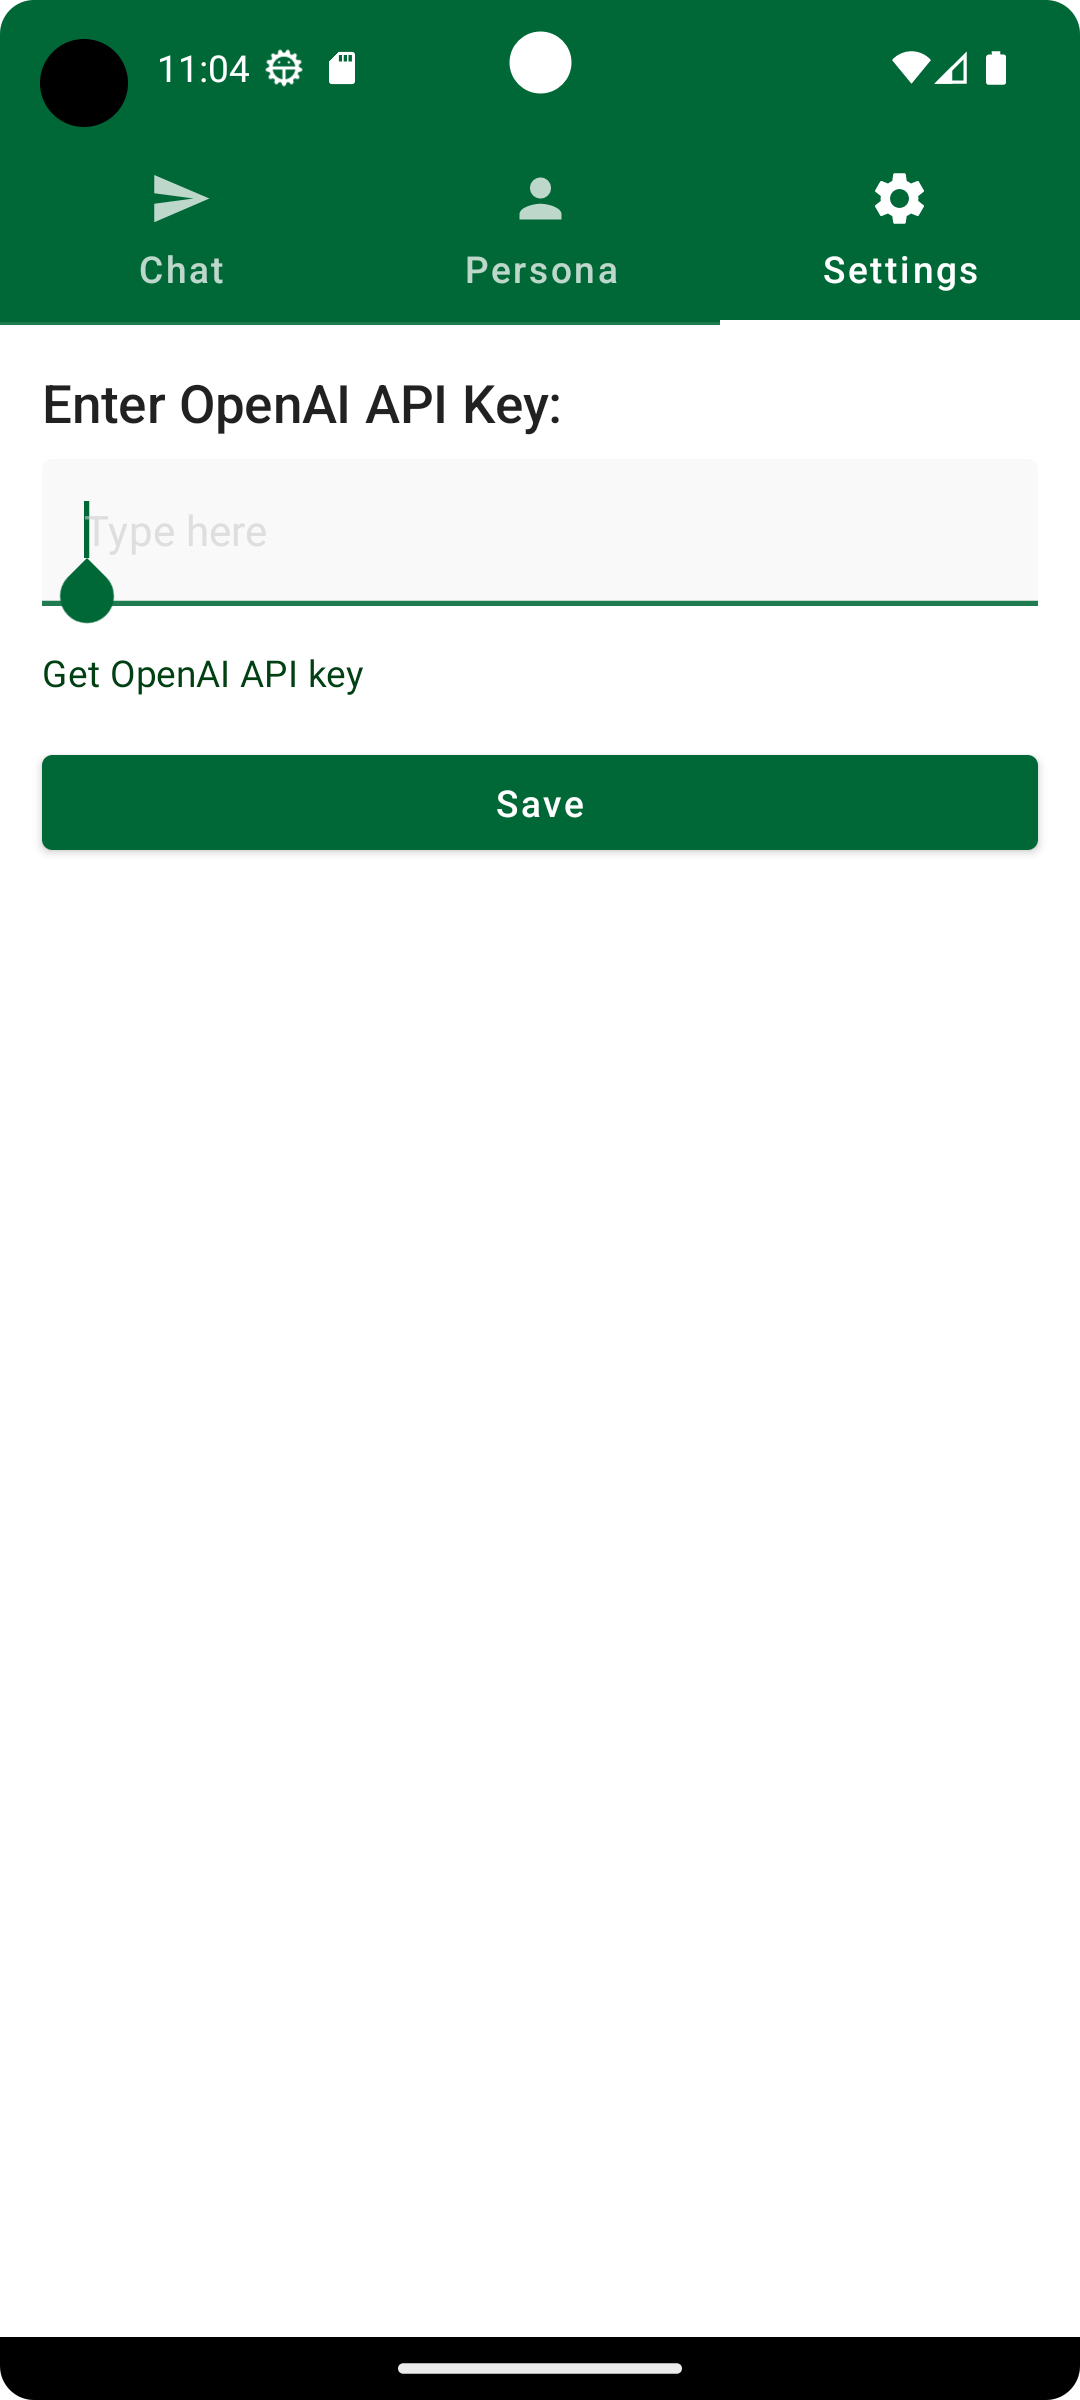
The last tab is the Settings tab, where you can enter your OpenAI key:
Creating a Chat Messages List
Add some messages to the chat screen to simulate a chatbot. Here, you’ll create a UI resembling popular chat applications like WhatsApp, Telegram or Facebook Messenger. A chatting window UI typically consists of a list of messages, a text field for typing messages and a button to send messages. The text field and button have already been created. You’ll find the container for the list of chat messages in the ChattingScreen.kt file. Look for the line // TODO: Create dialog boxes, which is inside an empty Box.
For each user message, create a Box that doesn’t take up the entire horizontal space and is aligned to the right side of the container. Then, add a Text inside the Box. The Text will display the message the user types to ChatGPT. To indicate that this message comes from a user, add an icon on the right side of the message.
Add the following code below the line // TODO: Create dialog boxes:
val content = "Hello, AI!"
Row(
  modifier = Modifier.fillMaxWidth(),
  horizontalArrangement = Arrangement.End,
  verticalAlignment = Alignment.Bottom
) {
    Box(
      modifier = Modifier
        .padding(16.dp)
        .fillMaxWidth(0.8f)
        .heightIn(120.dp)
        .background(Color.LightGray, RoundedCornerShape(16.dp))
    ) {
      Text(
        text = content,
        modifier = Modifier
          .align(Alignment.Center)
          .padding(8.dp)
      )
    }
    Icon(
      imageVector = Icons.Default.Person,
      contentDescription = "User Icon"
    )
  }
Build and run the project, and you should see the following screen:
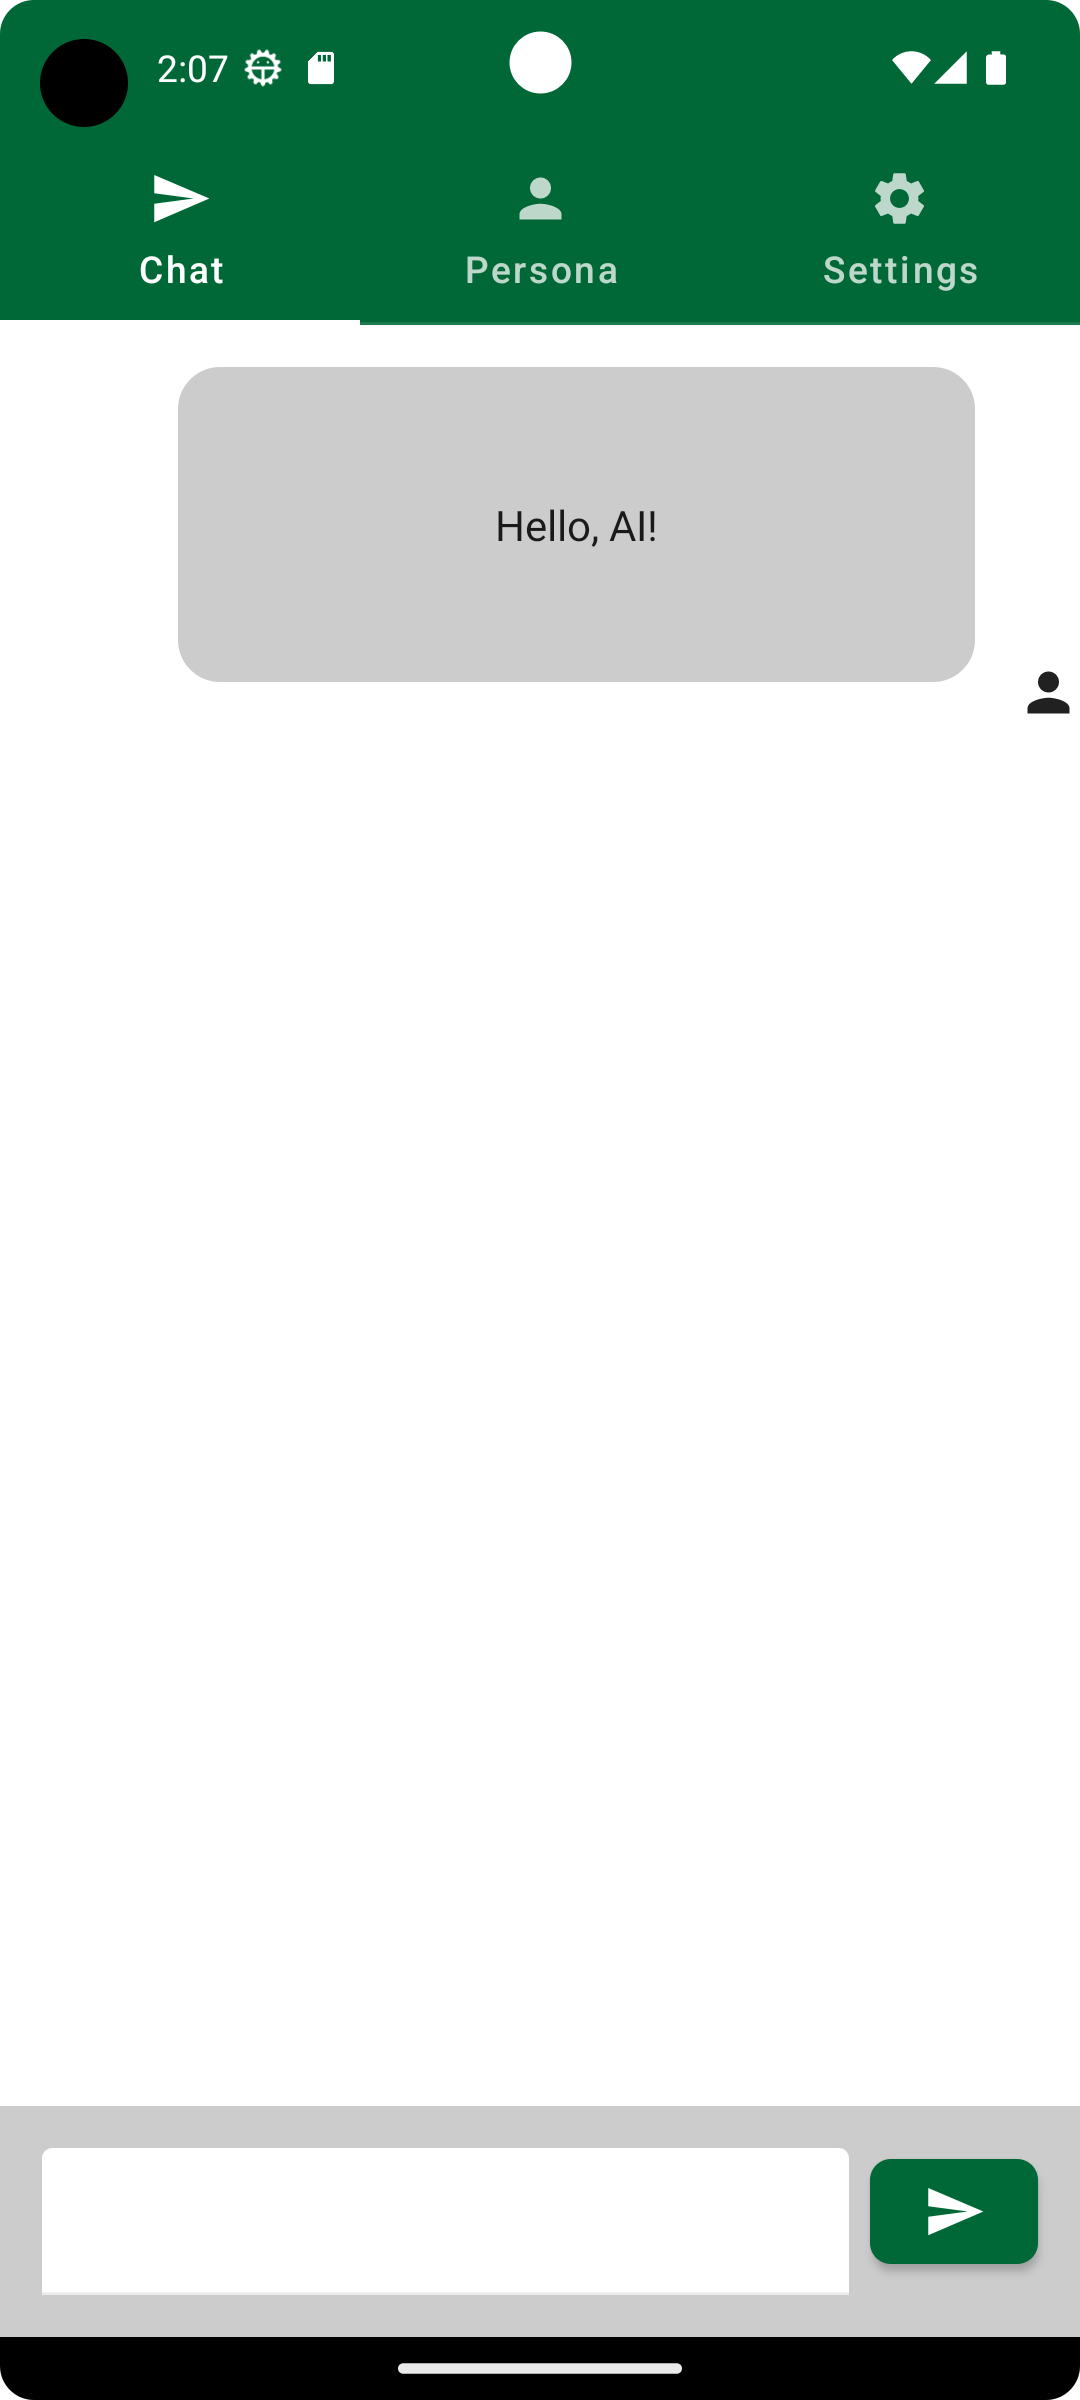
It looks good! The chat message box is correctly right aligned. The Row takes up the full width, and the Box takes up only 80 percent of the width, as indicated by the .fillMaxWidth(0.8f) modifier. The only issue is that the chat message box is at the top, rather than the bottom, close to the typing TextField. If you’ve used a chat application, you’re familiar with message boxes popping up from the bottom, but you’ll cover that later.
Displaying the Chat Response
For now, you’ll want to refactor the code. Delete the code, and move it to the UserMessage.kt file. Open the UserMessage.kt file and add the following code below the line // TODO: Create the user dialog box:
  Row(
    modifier = Modifier.fillMaxWidth(),
    horizontalArrangement = Arrangement.End,
    verticalAlignment = Alignment.Bottom
  ) {
    Box(
      modifier = Modifier
        .padding(16.dp)
        .fillMaxWidth(0.8f)
        .heightIn(120.dp)
        .background(Color.LightGray, RoundedCornerShape(16.dp))
    ) {
      Text(
        text = content,
        modifier = Modifier
          .align(Alignment.Center)
          .padding(8.dp)
      )
    }
    Icon(
      imageVector = Icons.Default.Person,
      contentDescription = "User Icon"
    )
  }
Then, in the ChattingScreen.kt file, below the line // TODO: Create dialog boxes, add the following code:
UserMessage("Hello, AI!")
If you build and run the project again, you see the same screen. Now, you want to add a chat message from ChatGPT. This chat message box should be aligned to the left of the chatting container. Ensure the box color is different so users can differentiate the messages more easily. Don’t forget to add an Icon on the left of the message.
Open the AIMessage.kt file and add the following code below the line // TODO: Create the AI dialog box:
  Row(
    modifier = Modifier.fillMaxWidth(),
    horizontalArrangement = Arrangement.Start,
    verticalAlignment = Alignment.Bottom
  ) {
    Icon(
      imageVector = Icons.Default.Face,
      contentDescription = "AI Icon"
    )
    Box(
      modifier = Modifier
        .padding(16.dp)
        .fillMaxWidth(0.8f)
        .heightIn(120.dp)
        .background(Color.DarkGray, RoundedCornerShape(16.dp))
    ) {
      Text(
        text = content,
        modifier = Modifier
          .align(Alignment.Center)
          .padding(8.dp),
        color = Color.White
      )
    }
  }