
Data Persistence With Room
Learn how to persist data in your Android app using the Room SQLite wrapper from Google. By Andrej Vukelic.
Many apps need to deal with persisting data. Perhaps you have an app that stores your favorite pet photos, a social networking app for cat lovers, or an app to maintain lists of items you need for your next vacation.
Android provides many options, including:
- Shared Preferences: For storing primitive data in key-value pairs.
- Internal Storage: For storing private data on device storage.
- External Storage: For storing public data on shared external storage.
- SQLite Databases: For storing structured data in a private database.
When your data is structured and you need to search for records in that data, a SQLite database is often the best choice. This is where Room comes in. Room is a SQLite wrapper library from Google that removes much of the boilerplate code that you need to interact with SQLite and adds compile-time checks of your SQL queries.
In this tutorial, you’ll build an application that creates a generic list that could be used as a shopping, to-do or packing list. Along the way, you’ll learn:
- The basics of setting up a Room database.
- How to use a DAO to Create and Read data.
- The basics of unit testing your persistence layer.
- How to hook up your database to an Android UI.
Note: This tutorial assumes that you have experience developing Android applications. Remember that the code snippets in this tutorial don’t include the needed import statements. Use the key combination Option-Return on Mac/Alt-Enter on PC to resolve any missing dependencies as you work through your project.
Introduction to Android Data Persistence
Classes, Tables, Rows and Instances
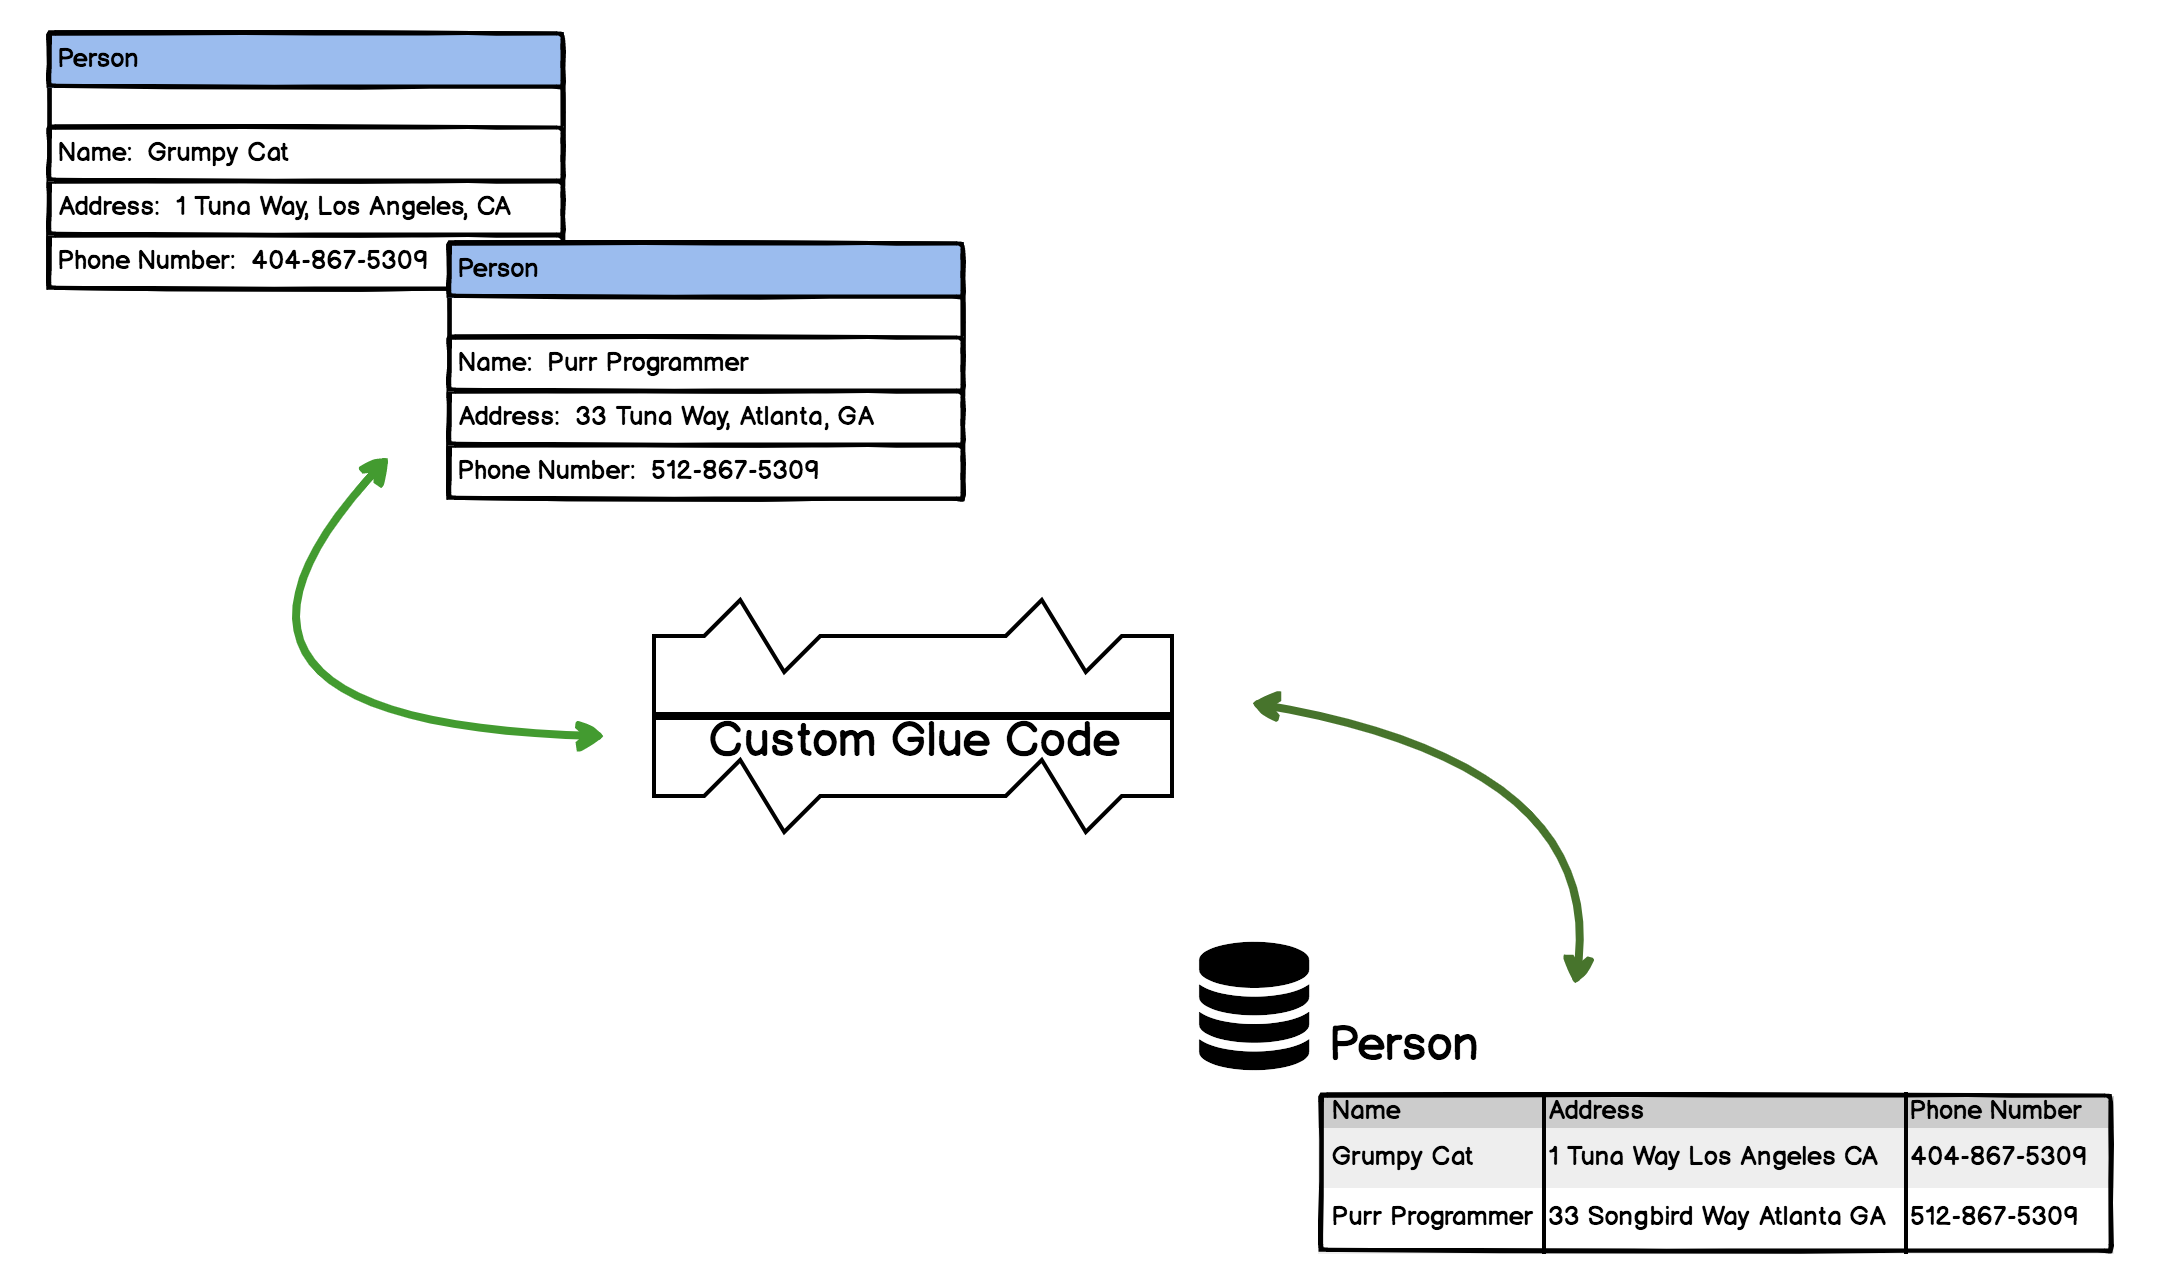
To understand Room, it’s helpful to understand the sum of its parts, so let’s start with a simple example of storing the names, addresses and phone numbers of a few people.
When you’re developing applications using an object-oriented programming language like Kotlin, you use classes to represent the data that you’re storing. In our example, you could create a class called Person, with the following attributes:
- name
- address
- phoneNumber
For each person, you’d then create an instance of a Person, with distinct data for that individual.
With a SQL relational database, you would model the Person class as a table. Each instance of that person would be a row in that table. To store and retrieve this data, SQL commands need to be issued to the database, telling it to retrieve and store the data.
For example, to store a record in a table you might use the following command:
INSERT INTO Persons (Name, Address, TelephoneNumber)
VALUES ('Grumpy Cat', '1 Tuna Way, Los Angeles CA', '310-867-5309');
In the early days of Android, if you had a Person object that you wanted to store in the SQLite database, you had to create glue code that would turn objects into SQL and SQL into objects.
ORMs and Android
Long before the days of Android, developers in other object-oriented languages started using a class of tool called an ORM to solve this problem. ORM stands for Object Relational Mapper. The best way to think of it is as a tool designed to automatically generate glue code to map between your object instances and rows in your database.
When Android came on the scene, no ORM existed for the Android environment. Over the years, open-source ORM frameworks emerged, including DBFlow, GreenDAO, OrmLite, SugarORM and Active Android. While those solutions have helped solve the basic problem of reducing glue code, developers have never really gravitated toward one (or two) common solutions. That has led to significant fragmentation and limitations in many of these frameworks, especially with more complex application lifecycles.
Google’s Android Architecture Components and Room
Beyond data persistence, Android developers have created several tactics to deal with those problems, including maintaining state during application lifecycle changes, callbacks, separating application concerns and creating view models for MVVM applications. In 2017, Google took some of the best practices from developers and created a framework called the Android Architecture Components. Included in this framework was a new ORM called Room. With Room you have an ORM to generate your glue code with the backing of the creators of Android.

Getting Started With Room
To start, download the materials for this tutorial (you can find the link at the top or bottom of this tutorial), unzip it and start Android Studio 4.1 or later.
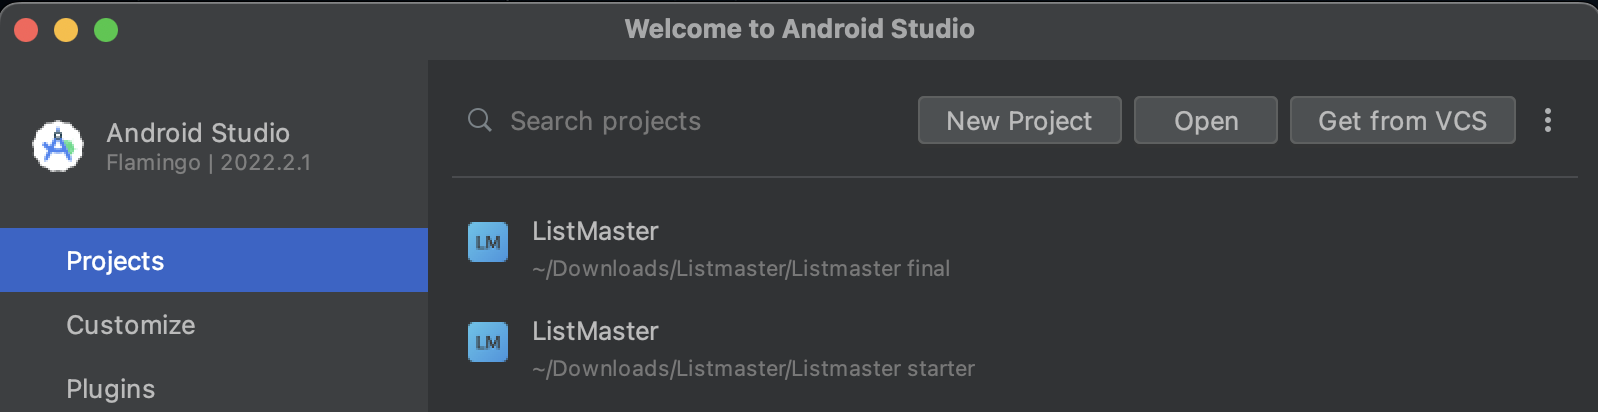
In the Welcome to Android Studio dialog, select Open.
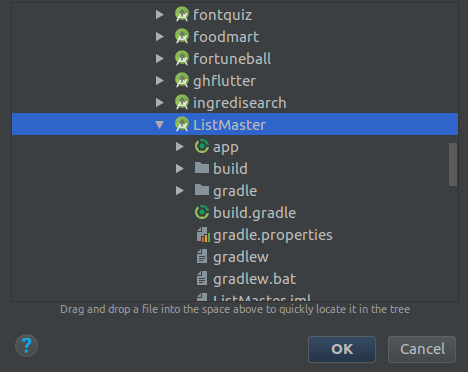
Choose the ListMaster directory of the starter project and click Open.
If you see a message to update the project’s Gradle plugin, you’re using a later version of Android Studio. Choose “Update”.
Check out the project for the List Master app and you’ll find a few packages structured in layers.
- data: Contains
CategoryDao, an interface that’ll manage the functions to access your objects in the database. - di: Has two classes
DataModule, which will mostly be replaced as you learn about Room, andViewModelModule, which provides the code to the View so it can be displayed. - presentation: Contains the three screens and their ViewModels, each with their own subfolder.
- MainActivity: The Activity that displays the app and gets the information from the different screens.
- AppDatabase: A file where you’ll create the database for this tutorial.
- ListMasterApplication: Contains the modules and injects them with Koin, a dependency injection library.
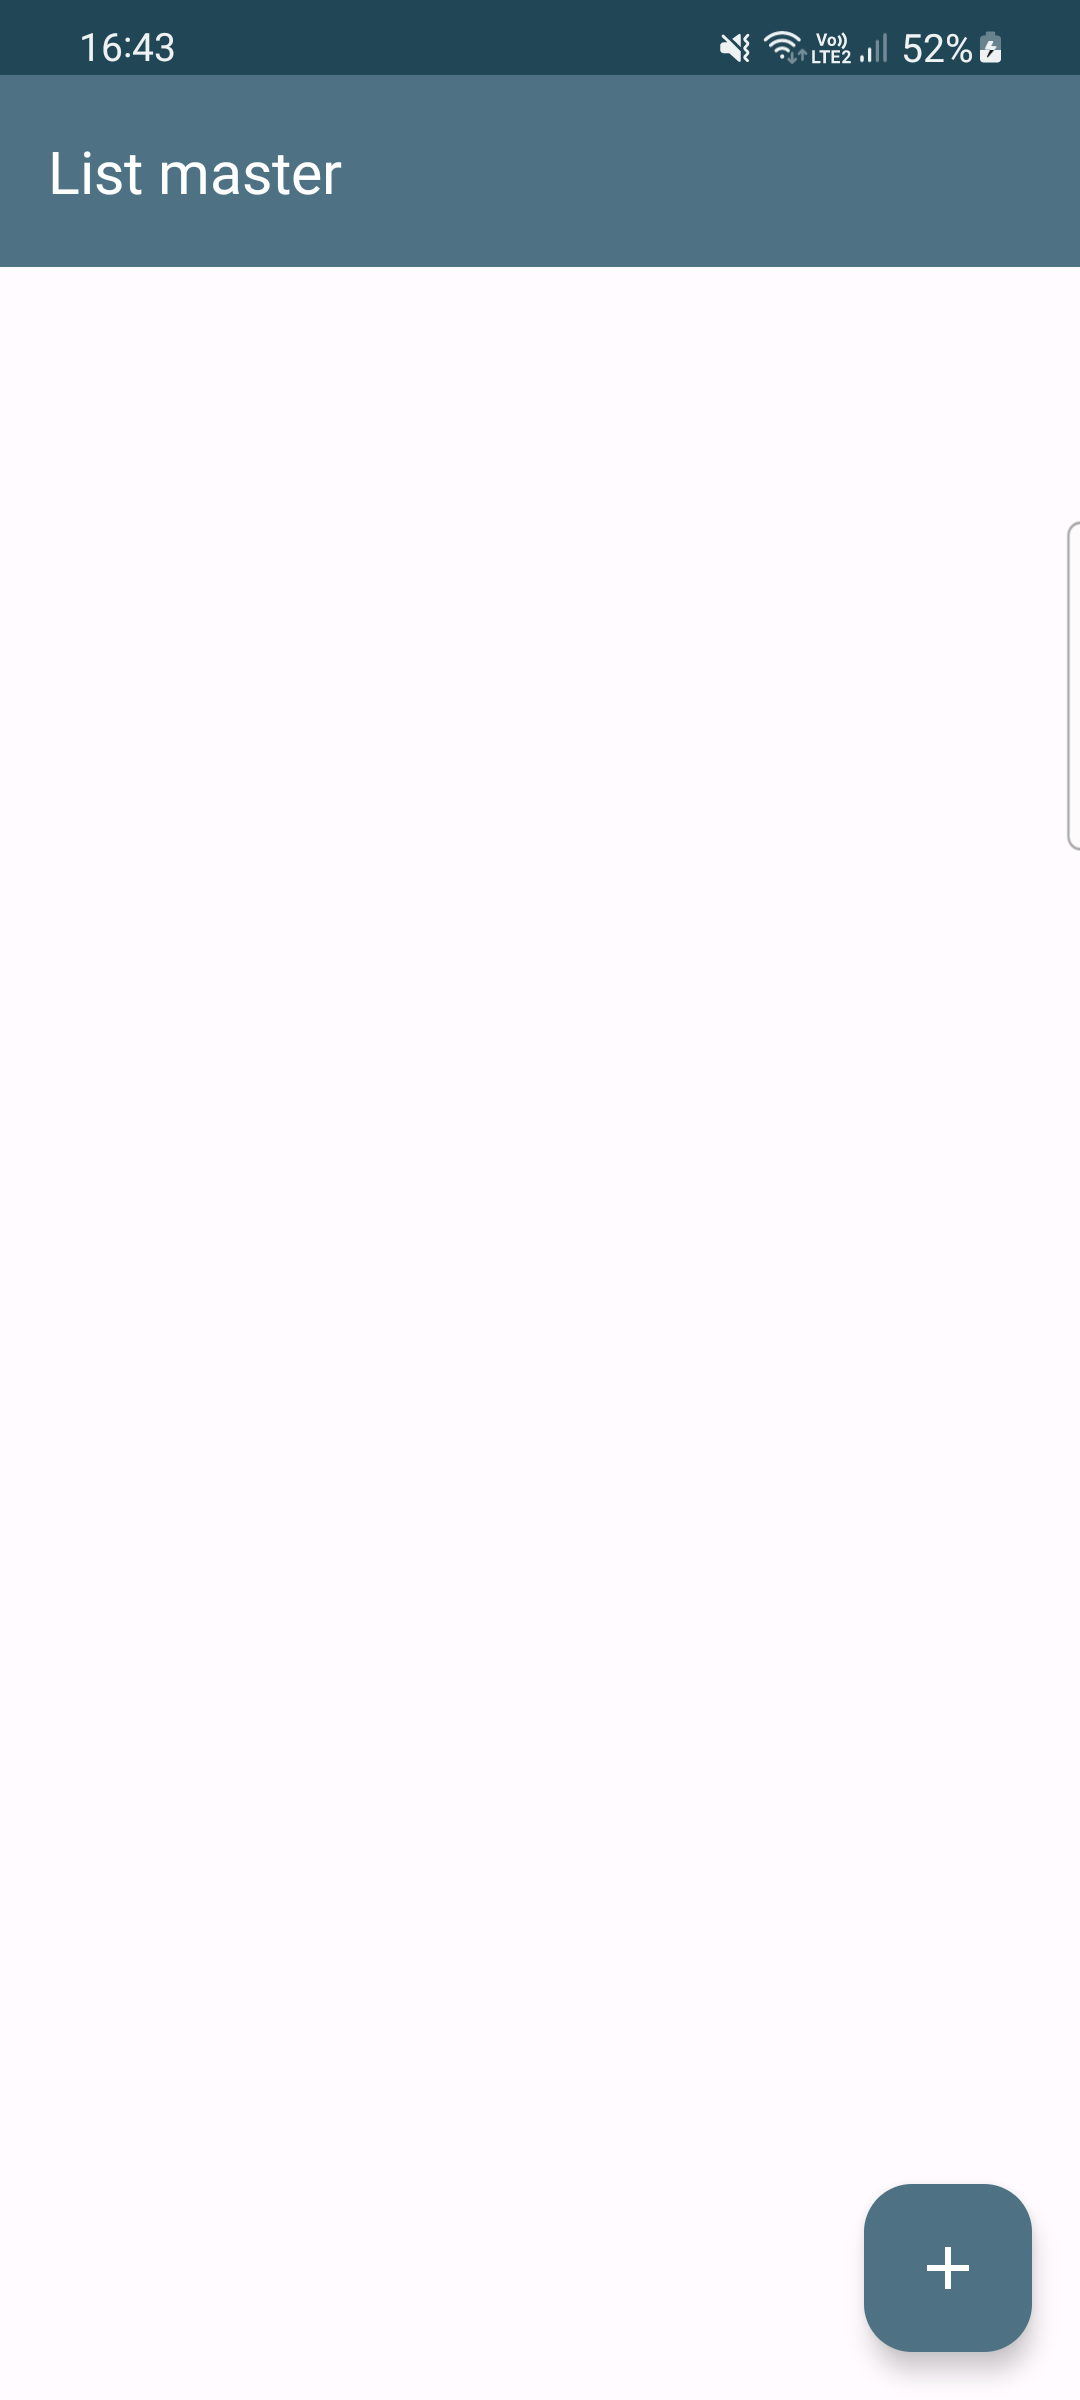
Build and run the application and your app will look like this:
Under the Gradle Scripts part of your project, you’ll see a build.gradle file with a (Module:app) notation. Double-click to open and add the following dependencies that add Room to your project, before the // Testing dependencies code at the bottom of the file where the TODO 1 is located.
implementation("androidx.room:room-runtime:$roomVersion")
implementation("androidx.room:room-ktx:$roomVersion")
kapt("androidx.room:room-compiler:$roomVersion")
Sync Gradle files once you’ve made the change.
You now have the Room dependencies needed for using Room in any Android project. Next, you’ll need to add the following items to use Room in your app: